
Triggering direct mail
Triggered based campaigns are a way to automate sending out your direct mail. Compared to standard bulk mail campaigns triggered campaigns can produce highly relevant marketing messages at the perfect time.
Triggered campaigns can:
- Improve customer engagement and loyalty.
- Reduce set up times.
- Boost brand awareness.
Campaign examples
- Welcome messages.
When a customer first signs up with your company a nice touch is to send a welcome pack. Also a perfect opportunity to upsell extra products or services. - Reminders.
If your customer has a scheduled activity or event within the near future a helpful reminder a few days before would be well received. - Abandoned baskets.
If your customer has shown some interest in purchasing a product but hasn’t completed the final hurdle why not send a targeted message with an incentive to complete the purchase. - Action based.
A customer performs an action which could then trigger information to be verified by post.
How to create a triggered campaign
Setting up a triggered campaign is easy. Here I will guide you through configuring a triggered campaign to post a letter when a new address has been added to a recipient group.
As we are triggering when a new address is added to a mailing group we would first need to create a new group.
Name the group and make a note of the ID. The ID will be used for programmatically feeding data in via the API.

Now you can create a new campaign. Choose your mail piece format for example letter or postcard.
Create your template. You can upload an existing PDF or design your own using the mail piece designer.
Now save your design and you will be asked to select a recipient group. Choose the group you created earlier. Now you see filtering and triggered options. This step is how you turn this campaign into a triggered campaign when a new user joins the group.
Hit save and then after approving your design you can activate the triggered campaign.
Using a custom column
You may have a column in your data which is a date, and you wish your mail piece to be posted on that date or in time for that date. This is possible by uploading your data set and mapping this column as a date column.
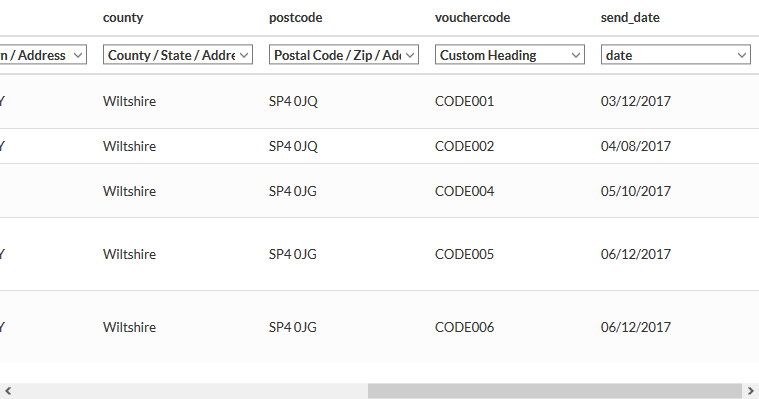
Once you have a custom column as a date field in your mailing list you can then select it when selecting your data in the campaign wizard as a triggered value.

Feeding data into a recipient group
Now all you have to do is to feed some data to trigger a mail piece.
This can be done by importing a CSV file manually in the dashboard or programmatically by API.
The code below will add a new recipient to the group we created earlier.
$ curl https://dash.stannp.com/api/v1/recipients/new?api_key={API_KEY} \
-d "group_id=7369" \
-d "on_duplicate=update" \
-d "firstname=Steve" \
-d "lastname=Parish" \
-d "address1=Unit 12 Taw Trade Park" \
-d "address2=Braunton Road" \
-d "city=Barnstaple" \
-d "postcode=EX31 1JZ" \
-d "country=GB"
The triggered campaign will see this new address and the mail piece will be printed and posted on the next working day.
Dispatched items can be tracked using the reporting page. The cost of the item will be deducted from your balance so make sure you top up before.


