Have you installed one of our e-commerce extensions? This article will guide you through the steps to sync customers from your online shop to Stannp. By the end you should have at least one group in your Stannp account that has at least one recipient.
If you do not have any groups in your Stannp Account, please go to
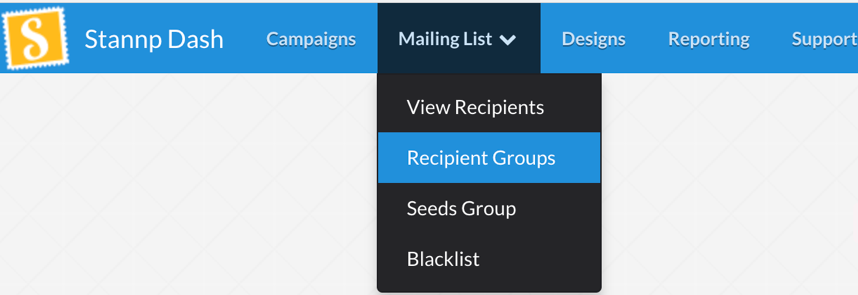
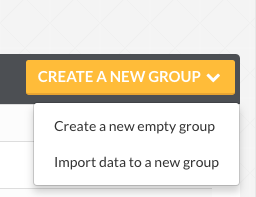
or use the following URL: https://dash.stannp.com/mailing-groups and click the  button. You can either create a new blank group or import data from existing groups. If you opt for a blank group, a new group will be created automatically. If you choose to create a group by importing data, you will have to upload a csv, xls or xlsx file for the group to be created.
Once you’ve selected your group in the extension and saved your changes, you can proceed to exporting or creating recipients.
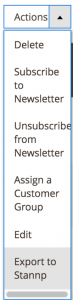
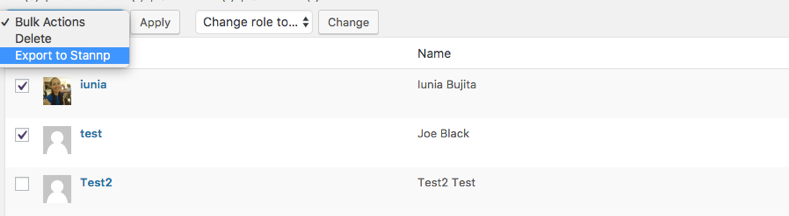
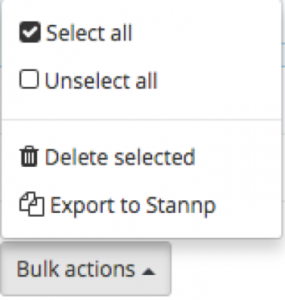
If you’re using one of our extensions, you can use a Bulk action to export your e-commerce customers to Stannp. Using this option, you need to individually select the customers you would like to export and then choose Export to Stannp in the Bulk Actions dropdown.
For Magento1:
![]()

For Magento2:
For WooCommerce:
![]()
For PrestaShop:
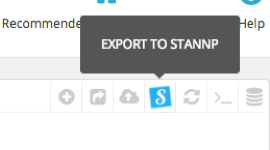
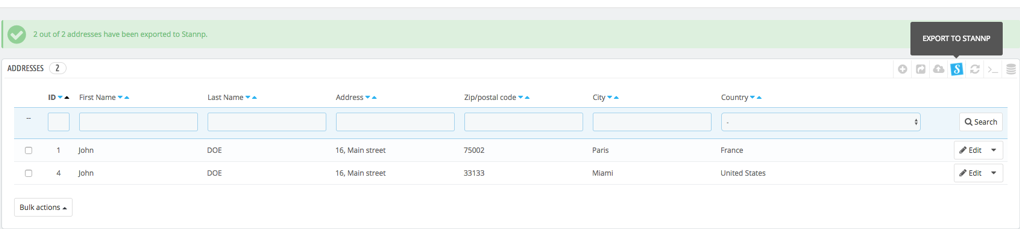
Another option offered by our extensions is using the Export to Stannp export action, that syncs the customers from your current view of the Customer table. So if you filtered your customers in your e-commerce extension, then you will only export the filtered ones.
For Magento1:


For Magento2:

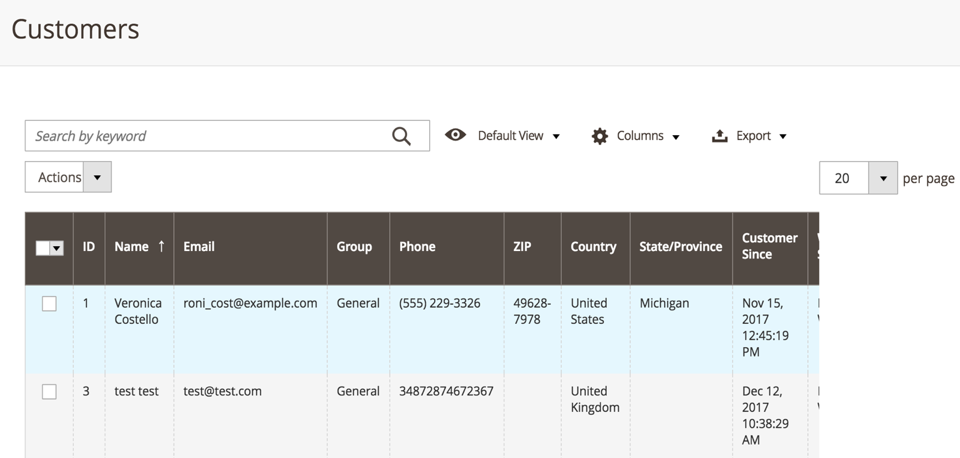
For PrestaShop:
To create a new recipient on the Stannp website, from the Stannp groups page you can select the![]() button corresponding to a group or you can go directly to the recipients page. You will be able to see the created/exported customers or create new ones by going to:
button corresponding to a group or you can go directly to the recipients page. You will be able to see the created/exported customers or create new ones by going to:
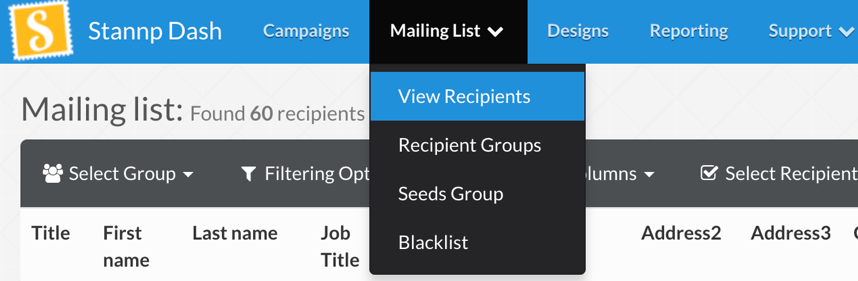
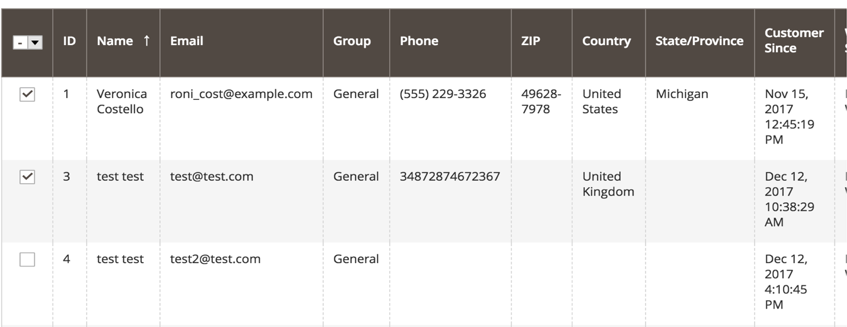
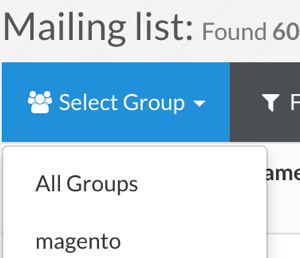
or by following this URL: https://dash.stannp.com/mailing-list . You can sort recipients by group:
You can select the ![]() button and you have two options:
button and you have two options:
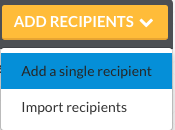
You can either add a single recipient or import recipients. If you opt for a single recipient, a new blank recipient will be created automatically. If you choose to create recipients by importing data, you will have to upload a csv, xls or xlsx file for the new recipient to be created.
Thank you!


